Key takeaways
- Clean accessible tracks and sills before winter.
- Check weatherstripping and window operation.
- Condensation location helps identify the next step.
Fall Window Maintenance Checklist for Ontario Homeowners
Before colder weather arrives, give each window a little attention. A fall check can reveal worn seals, sticking hardware, and water marks while there is still time to plan repairs.
1. Start with a room-by-room inspection
Open and close each operable window. Check whether the sash moves smoothly, sits evenly, and locks without force. Note the room and take a photo of anything that needs attention. Never lean outside or work at height to complete this checklist.
2. Clean accessible sills and tracks
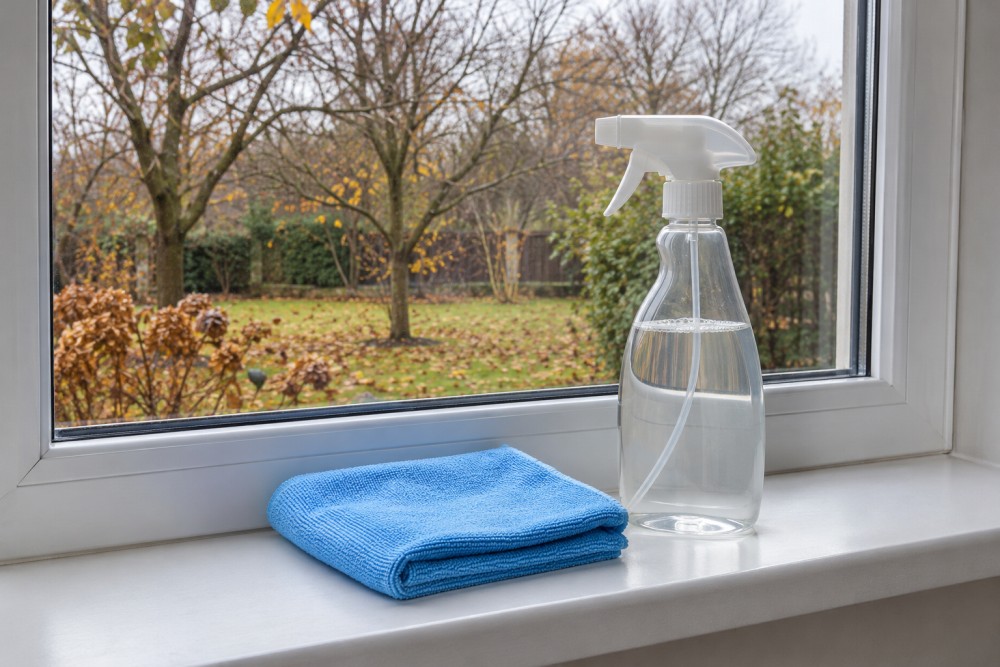
Remove loose debris with a soft brush or vacuum, then wipe accessible surfaces with a soft cloth and a mild cleaner approved by the manufacturer. Dry the area afterward. Avoid abrasive pads and harsh solvents.
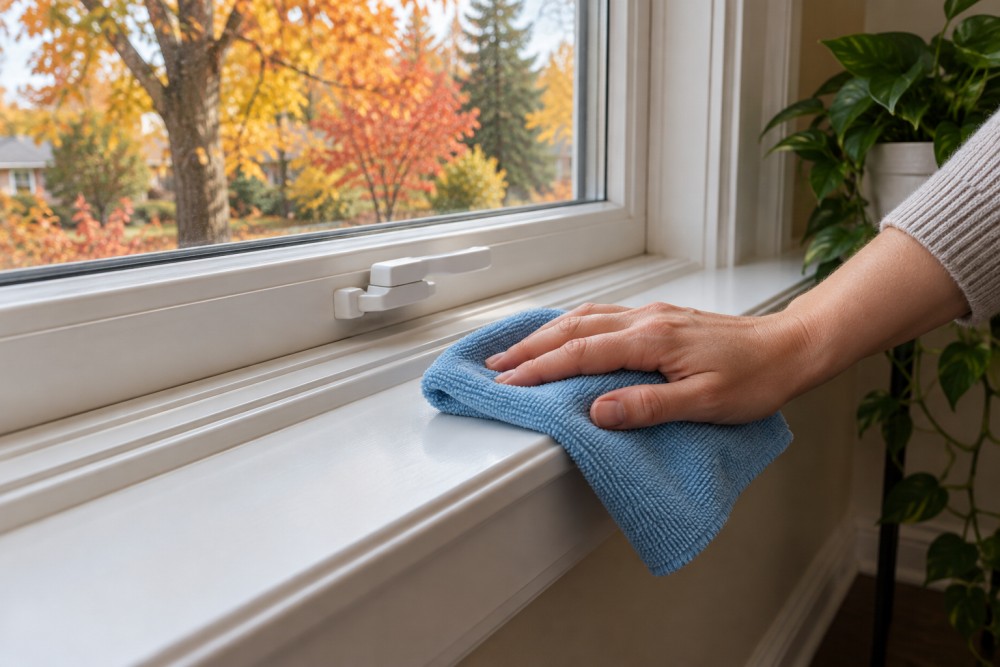
AI-generated illustration of routine window care.
Check the manufacturer's instructions before cleaning drainage openings or lubricating hardware. Keep designed drainage paths clear; do not cover them with sealant.
3. Inspect weatherstripping
Look for loose, flattened, torn, or missing sections around the opening sash. Use a compatible replacement recommended for your window rather than adding layers that make it difficult to close. Weatherstripping helps limit air leakage around moving window parts. Natural Resources Canada explains window seals and weatherstripping here.
4. Note drafts and visible gaps
On a breezy day, move your hand around the closed window perimeter and note where you feel air movement. Avoid candles or open flames. A draft may come from a worn sash seal, poor adjustment, or the connection between frame and wall.
Inspect accessible caulking for cracks or separation. Before resealing, identify the joint and the appropriate product: operable joints and drainage openings must remain functional. Ask an installer to assess uncertain details.
5. Check for water marks
Look for staining, peeling finishes, or damp areas near the sill and trim. Photograph the location and note whether it appears after rain or during cold mornings. Recurring water entry deserves an assessment before cosmetic repairs.
6. Identify where condensation appears
Moisture on the room-side glass can be related to indoor humidity and cool glass. Keep warm air circulating near windows and avoid trapping moisture behind closed coverings. Natural Resources Canada describes these condensation factors.
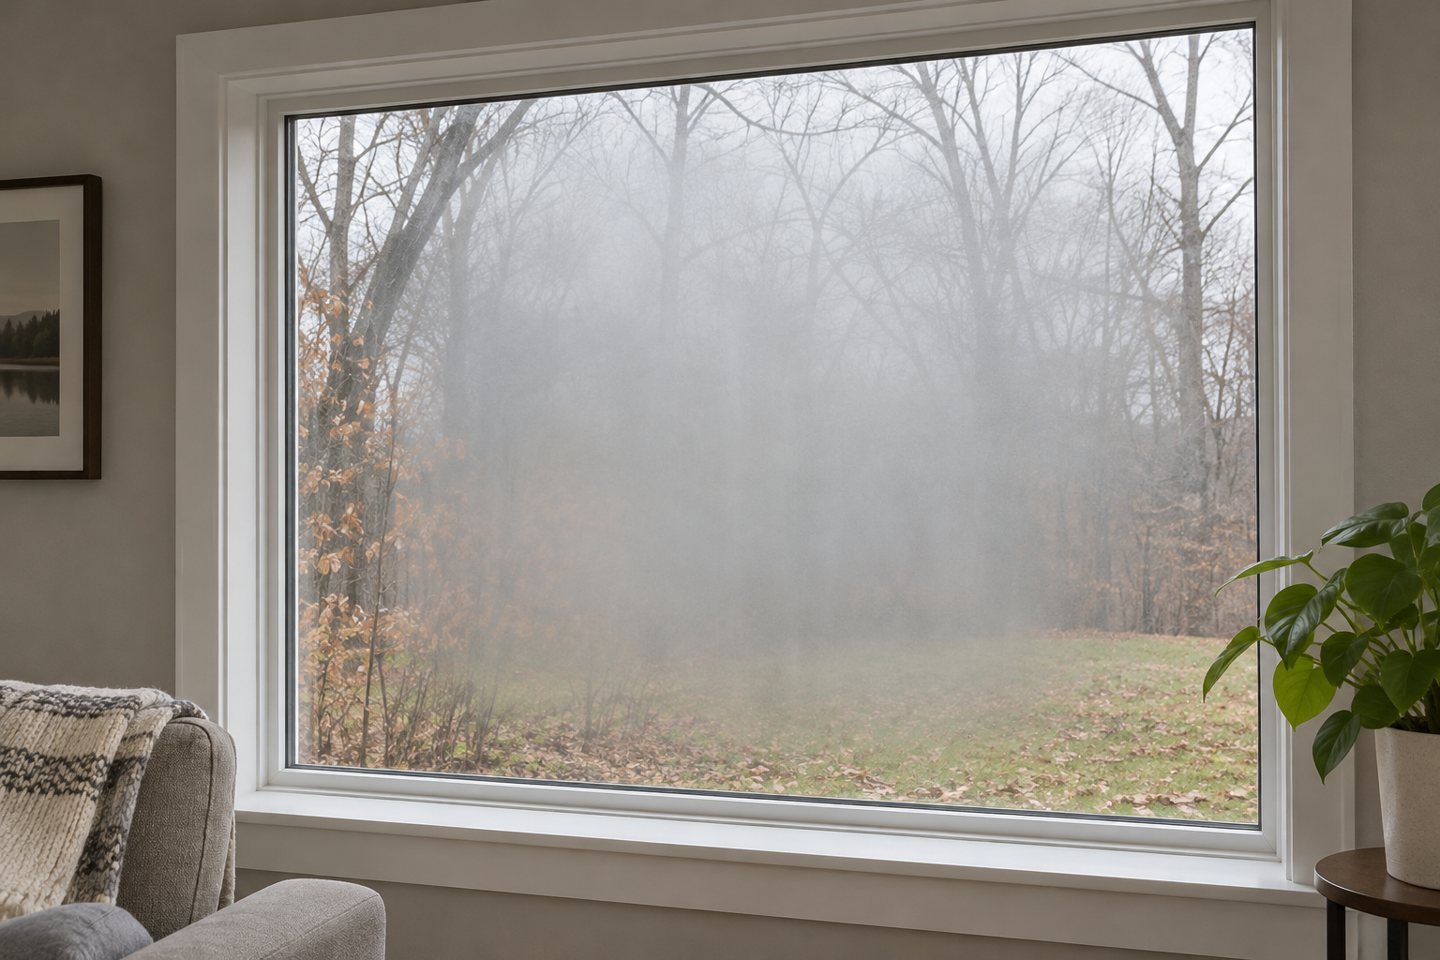
Fogging trapped between panes of a sealed glass unit calls for a different assessment. It can indicate a failed glass seal; check warranty coverage and ask about glazing-unit replacement before assuming the entire window needs replacing. See NRCan's guidance on sealed glazing units.
7. Decide what needs professional attention
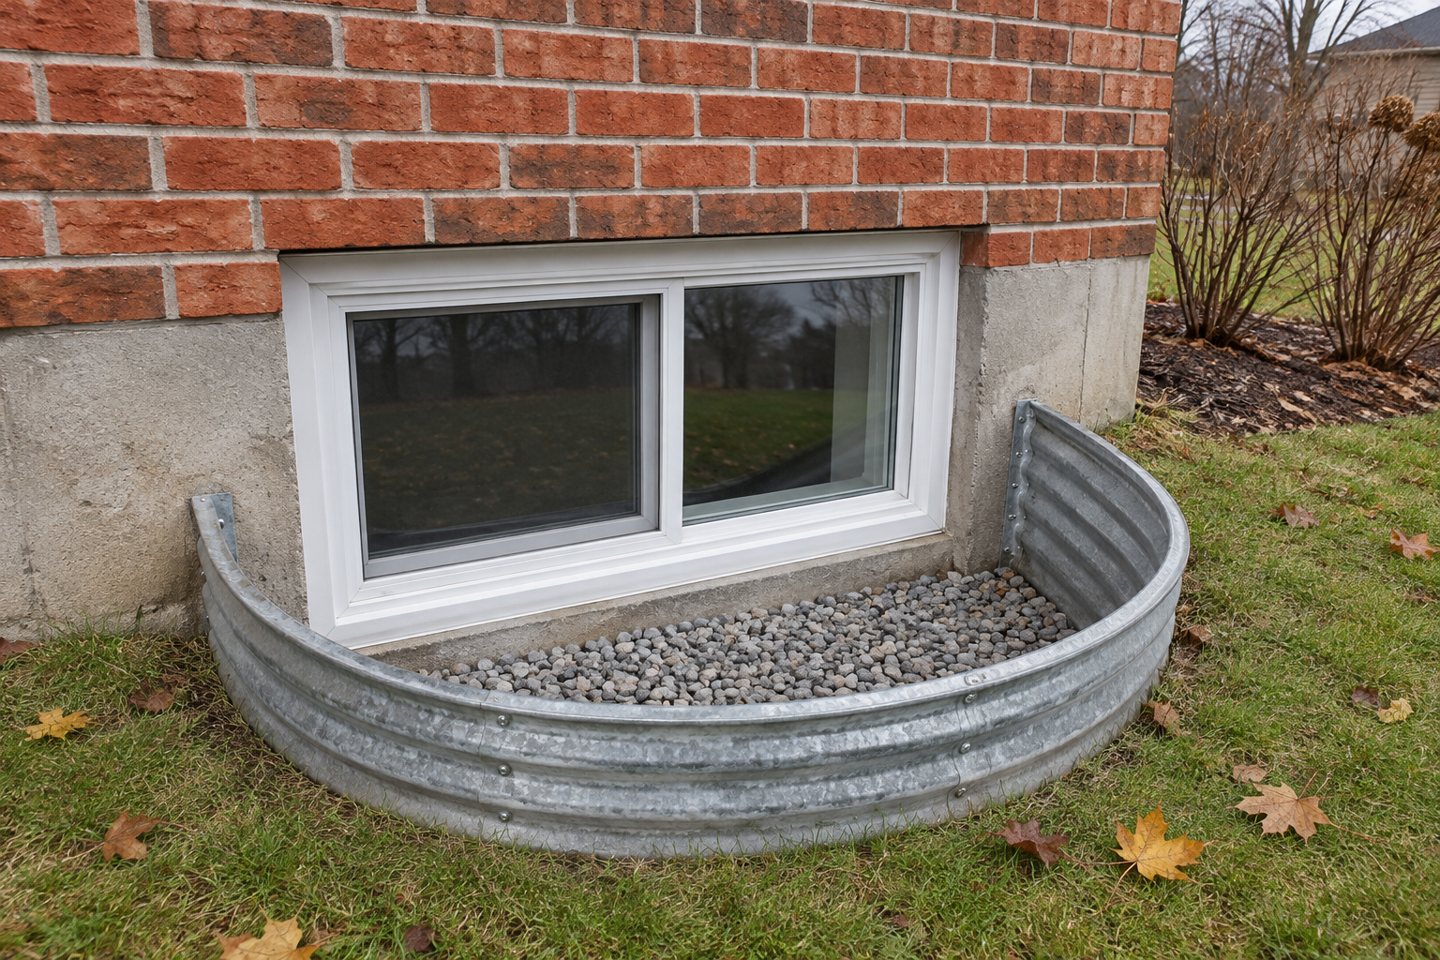
Arrange an assessment for cracked glass, recurring leaks, damaged frames, or windows that will not close and lock properly. Keep required escape openings usable. A maintenance visit or targeted repair may address some problems; extensive damage may justify replacement.
Plan your next step
Keep your inspection notes together so you can describe the issue clearly. If replacement is worth exploring, use the Alpha Windows estimator to begin comparing options, then confirm measurements and installation requirements with the team.
Images in this article are AI-generated illustrations, not photographs of completed Alpha Windows projects.